
My Computer
My main computer is my laptop: a Lenovo ThinkPad T450s.
I dual-boot both Windows 10 and Linux on it. I need both because I enjoy using Linux more, but I do need to use Windows fairly often for programs in my engineering courses, and certain utilities/programs which only run on Windows. Sometimes I wish I had a Mac, so I could also use OS X but I’m happy with my ThinkPad.
I was using Ubuntu 16.04 for the longest time, but I started getting those annoying Ubuntu errors that seem to plague everyone. I got very fed up with it all, and decided to recently do a fresh Linux reinstall. I’ll be walking through everything I do to customize it to my liking, such as any settings, configurations, applications, etc.
Installing Elementary OS
I chose Elementary OS for my Linux distro this time around, rather than the Ubuntu Gnome I have been running for the past few years. I’ve used Elementary “Luna” in the past and liked the aesthetics of it, and I’m now installing the latest release (at the time of this writing) which is called “Loki”. Elementary is relatively straightforward to install, and uses the standard Ubuntu installer when you run as a live CD/USB. I used Rufus to create my bootable USB from the ISO image I donwloaded from the Elementary website. At this point, I made sure to back up everything on my Ubuntu partition that I would need, since fresh installing Elementary on that partition would delete all my pre-existing data.
Once I restart my computer, I can hit a key which takes me to a menu to select the drive to boot from. I select my flash drive from the list, and voila! I have booted into Elementary running on my flash drive. By clicking on “Install Elementary” on the wizard you can follow through step-by-step and select how you would like to configure it to install. I chose to install it over my existing Ubuntu 16.04 partition. I’ll have to copy my data back from my backup I took.
Configuring my Terminal & ZSH
The terminal is a very important application on any Linux system, and it can be very useful to learn. Since I spend so much time on it, it’s important to me that it’s setup perfectly. There’s a few tweaks do whenever I setup a Linux system for myself.
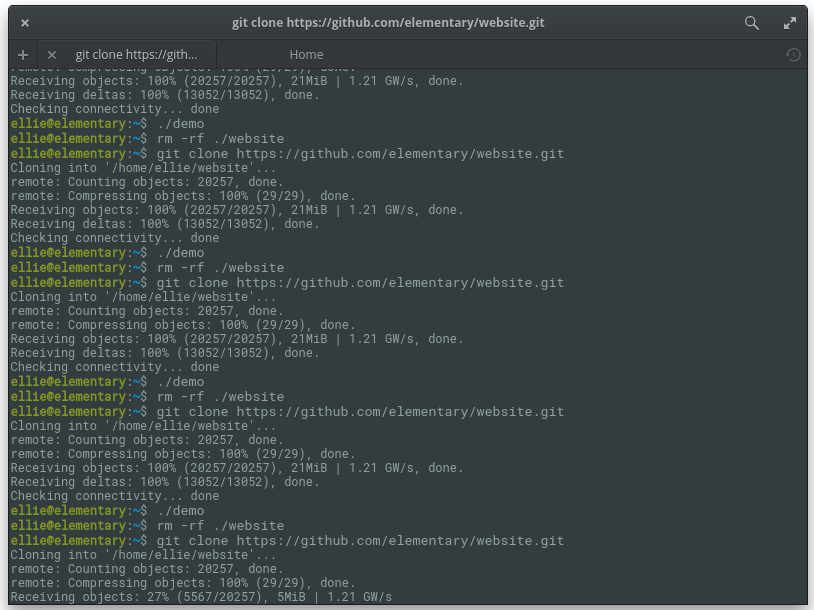
I am using the standard Pantheon Terminal which comes with Elementary. Out of the box, it looks like this demo I found on the Elementary website.
It gets the job done, but personally, I don’t like the color scheme, would prefer additional color highlighting, and a few other tweaks. Running the following commands allows us to change the color palette it uses, along with setting it to follow the last tab.

gsettings set org.pantheon.terminal.settings palette "#070736364242:#DCDC32322F2F:#858599990000:#B5B589890000:#26268B8BD2D2:#D3D336368282:#2A2AA1A19898:#EEEEE8E8D5D5:#00002B2B3636:#CBCB4B4B1616:#58586E6E7575:#65657B7B8383:#838394949696:#6C6C7171C4C4:#9393A1A1A1A1:#FDFDF6F6E3E3"
gsettings set org.pantheon.terminal.settings foreground "#838394949696"
gsettings set org.pantheon.terminal.settings background "#00002B2B3636"
gsettings set org.pantheon.terminal.settings cursor-color "#838394949696"
gsettings set org.pantheon.terminal.settings follow-last-tab "true"
Next I install the ZSH shell and Oh-My-ZSH, a framework for managing ZSH configurations.
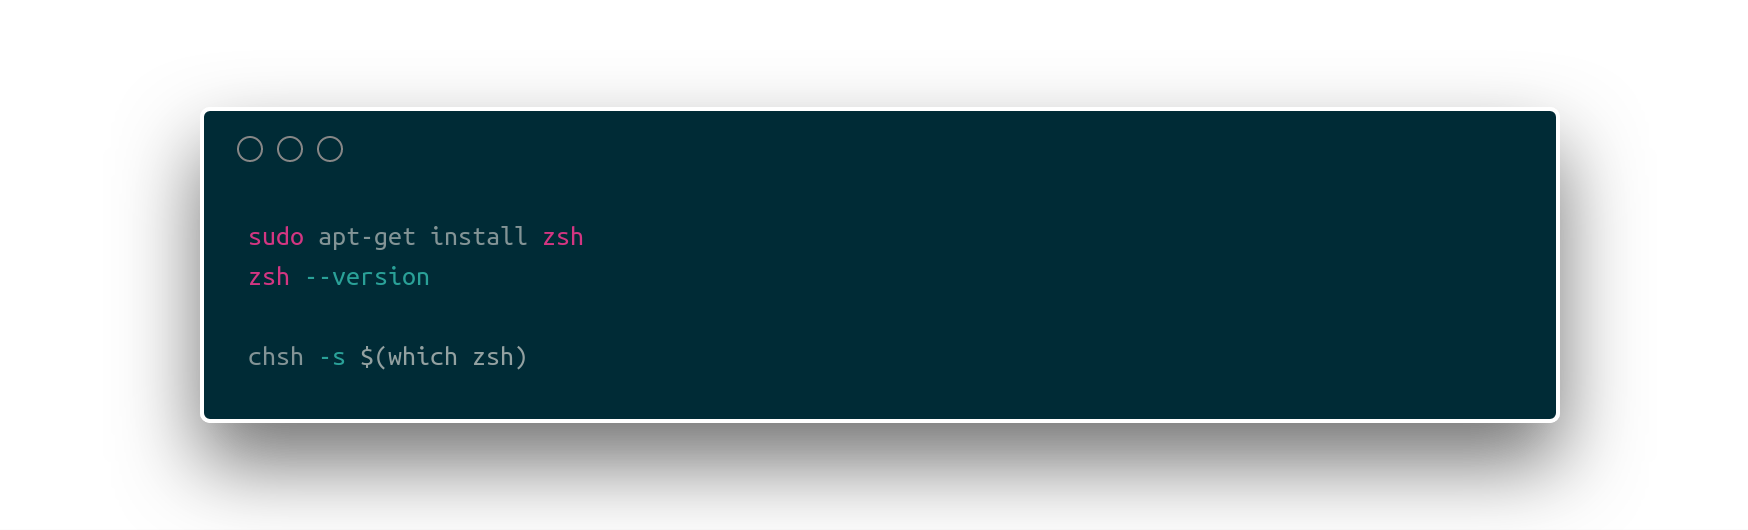 The above code installs ZSH, checks if it was installed properly, and also sets it as the default shell.
Now I’m going to install Oh-My-ZSH.
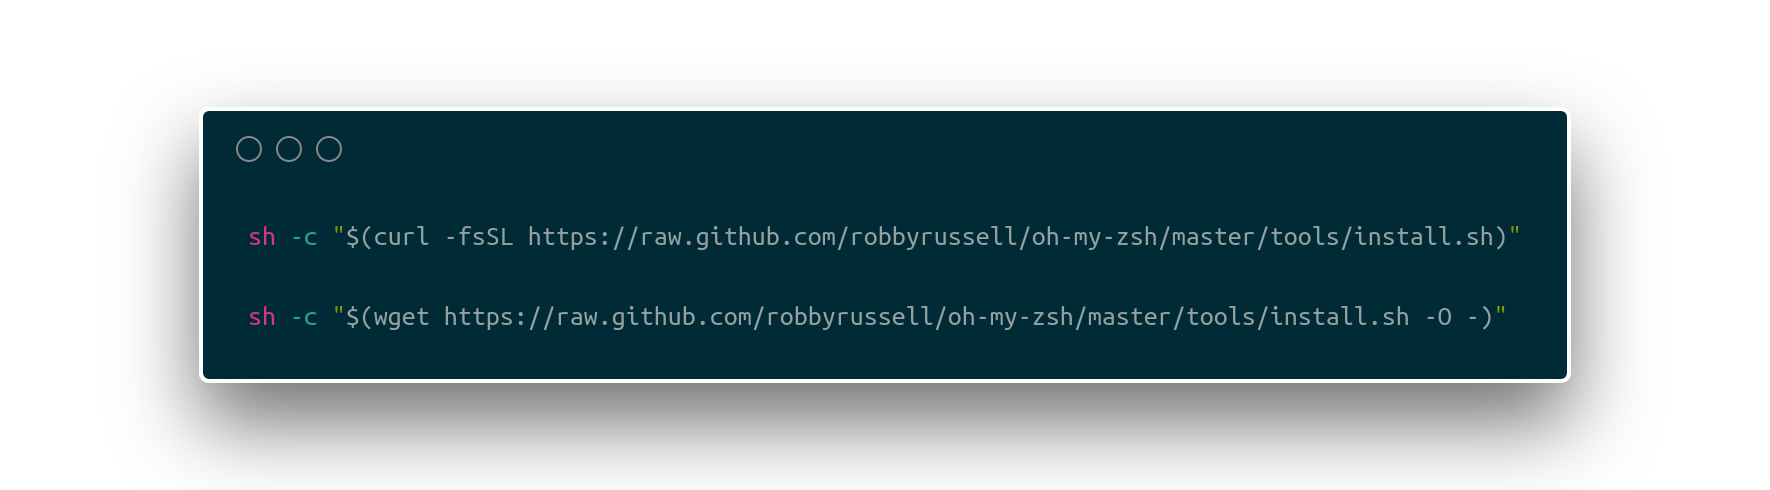
No need to use both of those commands, just one is enough. It depends on if you prefer to use WGET or CURL to retrieve files from the server.
Once Oh-My-ZSH is installed, you should create a .zshrc file in your home directory. I have included mine below in case you would like to copy it for yourself.
# path to your oh-my-zsh configuration
export ZSH=$HOME/.oh-my-zsh

# Set name of the theme to load.
# Look in ~/.oh-my-zsh/themes/
# Optionally, if you set this to "random", it'll load a random theme each
# time that oh-my-zsh is loaded.
#export ZSH_THEME="robbyrussell"
export ZSH_THEME="ys"

HYPHEN_INSENSITIVE="true"

COMPLETION_WAITING_DOTS="true"

plugins=(
    git
)

source $ZSH/oh-my-zsh.sh

export EDITOR='vim'

tmux attach &> /dev/null

if [[ ! $TERM =~ screen ]]; then
    exec tmux
fi
The first line loads Oh-My-ZSH. The ‘export ZSH_THEME’ line loads the “ys” theme, which is my preferred theme, but you can pick your own. There’s a list of the included ones on GitHub and there’s a way to download more or customize your own. I also set autocomplete for commands to be hyphen insensitive, and for dots to show up when a command is running. I also enabled the plugin for git, and there’s a list of more plugins on Github. I also setup my editor of choice, which is vim. The last few lines are to attach a tmux session whenever terminal is opened. We haven’t setup tmux yet, but we will do that next. You can save and exit out of this .zshrc file.
Tmux is a Terminal MUltipleXer. What I use it for is organizing multiple terminals within a single Terminal window. It allows you to open sessions with multiple panes, and tile the panes or stack them to organize them, and resize them next to each other. So I could have vim open up side by side with my files, and have another pane open with the compiler output or a terminal. This way I can basically replicate having a IDE. Super useful tool.
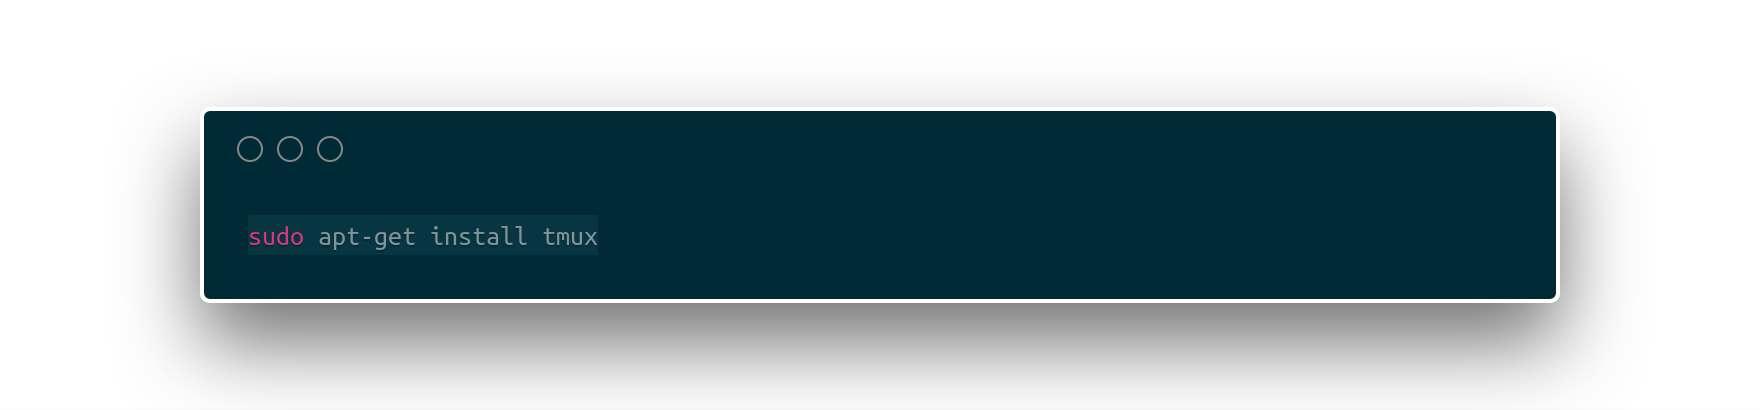
Tmux can be installed with the following command:
Now if you close out of your Terminal window and reopen one, Tmux should open a new session automatically since we included it in our .zshrc file. You can tell if it’s open, because a green bar should appear at the bottom of your terminal window. The best way to learn Tmux in my opinion is to just play around with it and use it daily. To figure out the commands, I use this Tmux cheat sheet. Remember to hit ctrl + b before entering any commands.
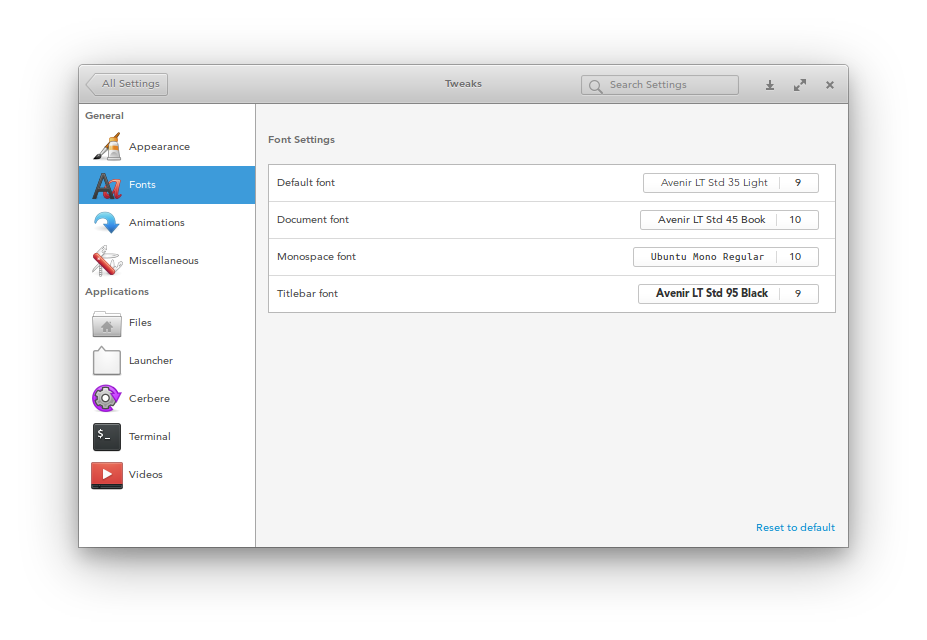
I also downloaded dconf-editor and Elementary Tweak Tool. The dconf-editor allows you to change settings for many apps and other aspects of your system, which usually cannot be done within regular settings menus. It is sort of risky, though, and you should research the settings you are changing in case it breaks your system. The Tweak Tool allows you to quickly edit settings and is a lot safer than using the dconf-editor.
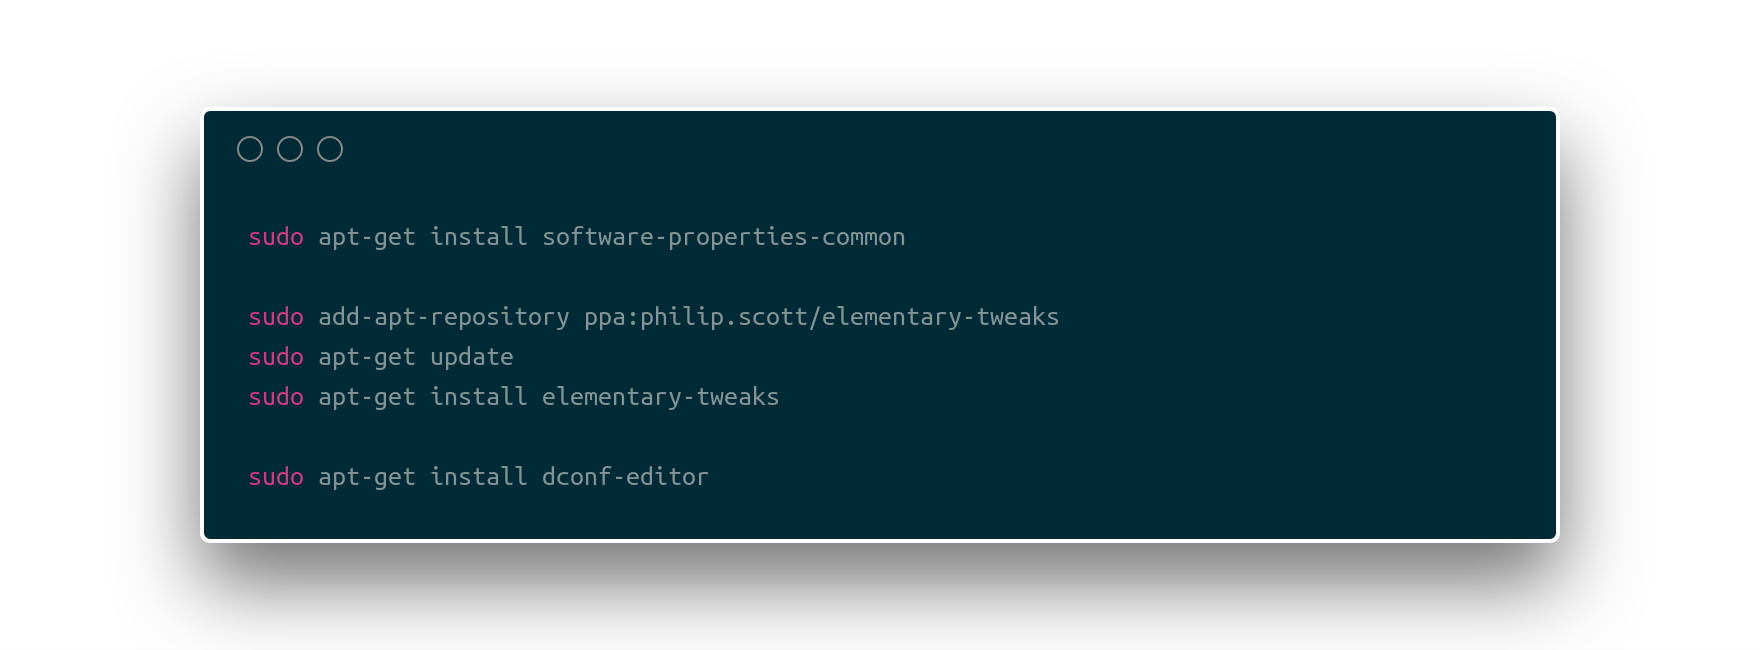
I installed a few of my favorite fonts on my system and changed my default fonts for terminal and the system through the Tweak Tool.
![]()
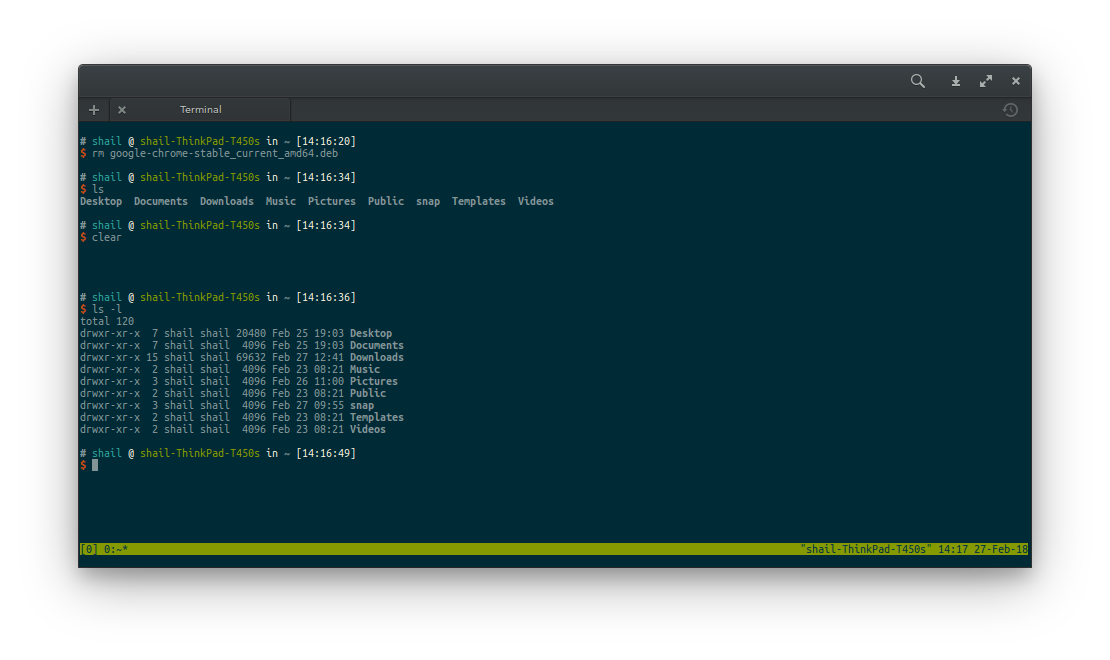
My terminal looks like this now once I have installed and configured everything.
Installing Vim
My preferred text editor is Vim (aka Vi iMproved). It’s very lightweight and runs within the Terminal. Although it is lightweight, it is very customizable and highly robust. Many programmers love and use it, and it has a very large fanbase. Another text editor that many people use is emacs, and there is a flamewar between the two sides on which is the superior text editor. We’re going to try to stay away from this debate, and I’m just going to let you know that I personally prefer to use Vim but everyone else is free to form their own opinion.
The way vim is setup is that it uses a .vimrc configuration file in the home directory for settings. The following is my .vimrc file.
set nocompatible        " be iMproved, required
filetype off            " required
set t_Co=256            " fixing color issues in iTerm
set encoding=utf-8      " because duh

set noswapfile          " screw swap files
set relativenumber      " shows linenumbers relative to your current one
set number              " The best of both worlds (tm)
set ts=2 sw=2           " because tabs should be two spaces
set softtabstop=2       " ^^^
set expandtab           " to insert space characters whenever the tab key is pressed
set backspace=indent,eol,start
set autoindent
set smartindent

" All of this replaces tabs with »···
highlight SpecialKey ctermfg=1
set list
set listchars=tab:»·

" Set the runtime path to include Vundle and initialize it
set rtp+=~/.vim/bundle/Vundle.vim
call vundle#begin()

"""" GENERAL PLUGINS """"

" let Vundle manage Vundle, required
Plugin 'gmarik/Vundle.vim'

" file explorer plugin
Plugin 'tpope/vim-vinegar'
"""" LANGUAGE PLUGINS """"

" js and jsx highlighting
Plugin 'mxw/vim-jsx'
let g:jsx_ext_required = 0 " Allow JSX in normal JS files

" sass editing
Plugin 'tpope/vim-haml'

"""" INTERFACE PLUGINS """"

" fancy-ass status line that makes me happy
Plugin 'bling/vim-airline'
let g:airline_powerline_fonts = 1   " Maximise the pretty
set laststatus=2

"""" UTILITY PLUGINS """"

" fuzzy file finder
Plugin 'kien/ctrlp.vim'
set wildignore+=*/tmp/*,*.so,*.swp,*.zip,*/node_modules/* " Ignore some stuff

"""" CLOSING STATEMENTS """"

" All of your Plugins must be added before the following line
call vundle#end()            " required

syntax enable
This is not my own creation, the original was given to me by a friend and I modified it to my liking but kept it mostly the same, including the comments.
I use Vundle to extend the functionality of Vim. Vundle is short for Vim Bundle, and is a Vim plugin manager. To install Vundle, you can run the following code:
git clone https://github.com/VundleVim/Vundle.vim.git ~/.vim/bundle/Vundle.vim
Then you have to launch vim and run the plugin installer.
vim
:PluginInstall
Now you can use Vundle plugins with Vim to access extra features.
Power Management with TLP
section still in the works
Installing other Applications
We enabled PPA earlier to install the Tweak Tool. PPAs are one way to install 3rd party software through the Software Center, App Store, or Terminal using apt-get/aptitude. Other applications I use include:
- Google Chrome - my preferred web browser
- Slack - a useful chat software for teams
- Atom - a very good text editor I use sometimes instead of vim
- Spotify - for music
- VLC - for videos/movies
- Boxes - for virtual machines
- and more. I’ll add to this list as I think of more applications I use.